Home › Guides › Google Docs letterhead
How to Create a Letterhead in Google Docs
Build a letterhead in Google Docs from a blank document in about ten minutes, or start from one of our free Word templates. Both end with a reusable master you copy for every letter.
Quick answer: in a new Google Doc, choose File › Page setup › Pages, then Insert › Headers & footers › Header. Add your logo with Insert › Image, put your name and contact details beside it in a borderless two-column table, add a bottom border as a divider, and keep the file as a master you copy for each letter.
Create a letterhead from scratch
- Set up the page. Create a blank document, open File › Page setup and choose Pages (headers don't show in pageless mode). Pick Letter or A4 and keep 1-inch margins.
- Open the header. Choose Insert › Headers & footers › Header, or double-click the top of the page.
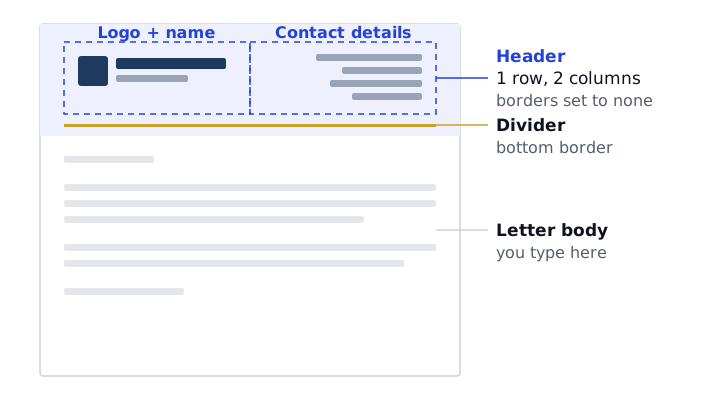
- Add a two-column table. With the cursor in the header, choose Insert › Table and pick one row by two columns.
- Fill the cells. In the left cell, add your logo with Insert › Image › Upload from computer, set it to In line, then type your name beside or below it. In the right cell, type your address, phone, email and website on separate lines and right-align them.
- Hide the table borders. Right-click the table, choose Table properties and set the table border width to 0 pt.
- Add a divider. Put the cursor in an empty line under the table, open Format › Paragraph styles › Borders and shading and add a bottom border in your brand color.
- Style the text. Set the name at 16–24 pt and the contact details at 8–10 pt. Use the font menu's More fonts to add a Google Font if you want one.
- Check page two. Click below the header, type enough sample text to reach a second page, and decide whether the header should repeat or appear on the first page only (the header's Different first page option).
For a centered design, skip the table: put the logo on its own line, the name and tagline below it, and center each paragraph. The fonts guide lists good Google Fonts for letterhead, and letterhead format covers margins and header height.
Or start from a free Word template
If you'd rather start from a finished design, every example on this site has a free Word download that imports into Google Docs. The steps below show how.
Start with your details already filled in: use the free maker, add your logo and download Word. Then follow the import steps below. Your details stay in the browser until you choose to upload the downloaded file to Google Drive.
Choose a simple design
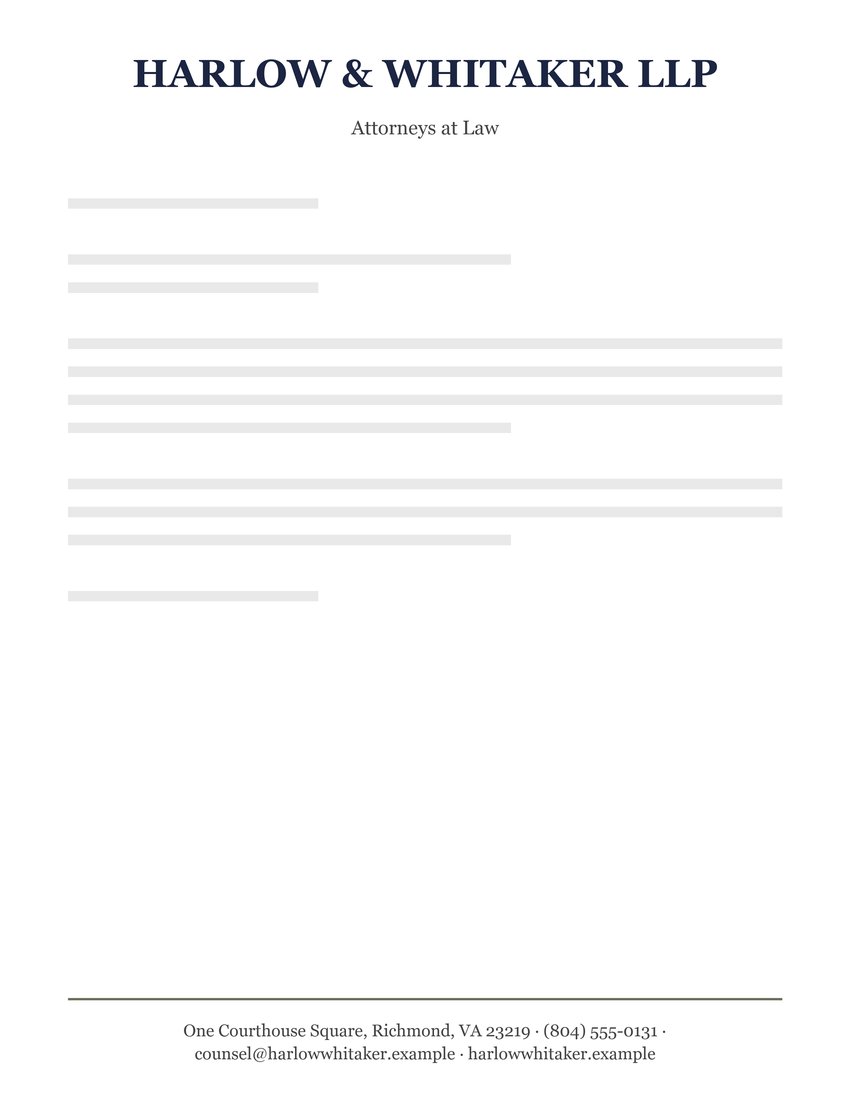
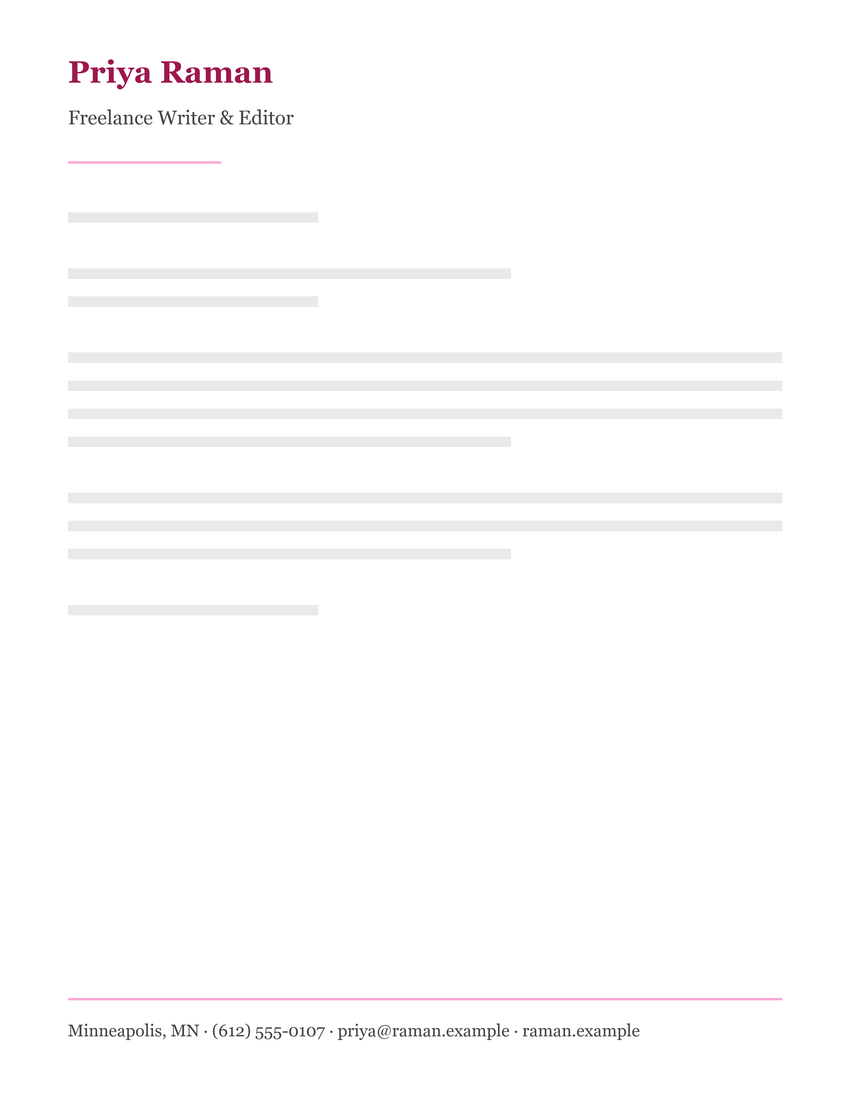
A simple header is easier to edit after importing. Try Northfield Consulting for a business layout, Harlow & Whitaker for a traditional centered name, or Priya Raman for a personal design. Browse the full template gallery to compare them.

Import the template into Google Docs
- Download a Word template (.docx), either from the gallery or the maker.
- Open Google Drive and choose New › File upload. Select the downloaded .docx file.
- Open the file with Google Docs. If it is still in Office editing mode, use File › Save as Google Docs to create a native Google document.
- Use File › Page setup and choose Pages. Headers and footers are not visible in pageless mode.
- Double-click the top of the page to edit the header. Replace the fictional name, address, phone, email and website. Check the footer too.
For Google’s current header controls, see headers and footers in Google Docs. Menu labels can vary as Google updates the editor.
Add or resize your logo
While the header is open, use Insert › Image › Upload from computer. Start with an image set in line with text, then resize it from a corner to preserve its proportions. A transparent PNG usually works well. The maker’s Word export includes your uploaded logo, so you may only need to adjust its position after importing.
Keep a reusable master
Name the document “Letterhead – Master” and keep its letter area blank. For every new letter, choose File › Make a copy and give the copy a new name. This protects your original design from accidental changes.
Check before sending or printing
- Check paper size, margins, logo proportions and whether the footer fits.
- Add enough sample text to reach a second page and inspect the repeated header.
- Download a PDF and check that no contact details wrap awkwardly or disappear.
The files use standard Word headers and footers, but imported layouts can change between editors. We have not visually verified every design in Google Docs. The Word versions simplify sidebars and full-page color bands; use the maker’s PDF option when preserving that layout matters most.
Why is the header missing?
First check that the document uses Pages rather than pageless mode. Then double-click near the top edge. If only page one differs, inspect the header’s Different first page setting. If a font changed, select one available in Google Docs and check the spacing again.
Prefer Microsoft Word? Follow the dedicated Word tutorial. For sizes and spacing, see letterhead format.