Home › Guides › Print without cutting off
How to Print Letterhead Without Cutting Off the Design
If the top of your logo, the edge of a color band or the last line of the footer goes missing when you print, one of five settings is usually to blame. Here's how to find it and fix it.
Quick answer: print at Actual size or 100% scale, check that the paper size in the print dialog matches your document (US Letter or A4), and keep every word and logo at least 0.25 in (6 mm) from the edge of the page. Home printers can't print to the very edge, so color that runs to the edge will always print with a thin white border unless a print shop trims it.
Why letterhead gets cut off
Almost every home and office printer has a small strip around the paper it can't print on, usually about 0.25 in (6 mm), sometimes less. Anything you place in that strip is either clipped or pushed inward. A letterhead is more exposed than a normal letter because it puts things near the edges on purpose: a logo close to the top, a contact line close to the bottom, or a color band that runs off the page.
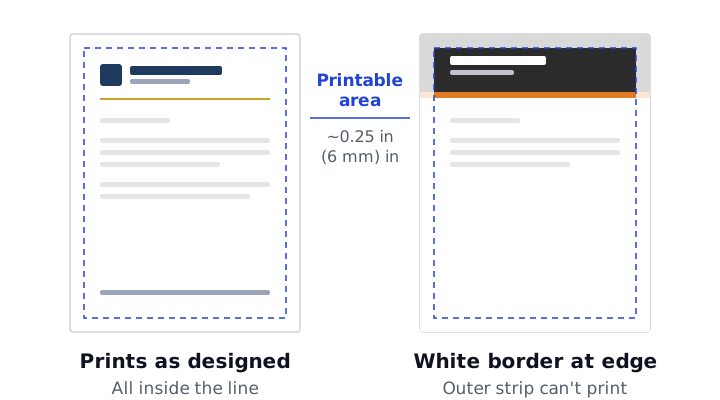
The five usual causes:
- Content too close to the edge. The design itself sits inside the printer's unprintable strip.
- Scaling. The print dialog shrinks or enlarges the page to fit, which moves the design or changes its size.
- Wrong paper size. A US Letter document printed on A4 paper, or the other way round. A4 is narrower and taller than Letter, so the sides or the bottom get cut.
- The Word or Google Docs header starts too high. The header is placed closer to the top edge than the printer allows.
- Backgrounds switched off. When printing from a browser, color bands and fills disappear entirely unless background printing is on. It looks like the design was cut off, but it was never printed.
Fixes by symptom
| What you see | Most likely cause | Fix |
|---|---|---|
| Top of the logo or name is missing | Header too close to the top edge | Move the header down so it starts at least 0.3–0.5 in (8–12 mm) from the top |
| Thin white strip along a color band or sidebar | Printer can't print to the edge | Normal for home printing. Use borderless printing if your printer has it, or order from a print shop |
| Right side or bottom line cut off | Paper size doesn't match the document | Set the same paper size in the document and the print dialog |
| Design is smaller than expected, with a wide white border | Fit to page or Shrink oversized pages | Print at Actual size or 100% |
| Color bands or fills are missing completely | Background graphics turned off | Turn on Background graphics or Print backgrounds |
| Footer contact line is missing | Footer too close to the bottom edge | Move the footer up so it ends at least 0.3–0.5 in (8–12 mm) from the bottom |
Fix it in Microsoft Word
- Check the paper size under Layout › Size. Choose Letter or A4 to match the paper in your printer.
- Open Layout › Margins › Custom Margins, then the Layout tab. Under From edge, set Header and Footer to at least 0.3 in (0.8 cm). If Word warns that a margin is outside the printable area of the page, move it inward until the warning stops.
- Double-click the header and check that nothing, including the logo, is dragged above the header's starting point. Pictures set to In Front of Text can be moved anywhere, even off the printable area, so check their position.
- Print one test page before printing a stack.
Our Word letterhead tutorial covers headers, logos and second pages in more detail.
Fix it in Google Docs
- Open File › Page setup. Choose the paper size you print on and keep the top and bottom margins at 0.5 in (1.27 cm) or more.
- Check that the letterhead is in the header (double-click the top of the page). If the header is missing, switch to Pages format in Page setup.
- Print with File › Print, then check the scale and paper size in the print dialog that opens.
See letterhead templates for Google Docs for importing a Word template and keeping its header intact.
Fix it when printing a PDF
- Adobe Acrobat and Reader: under Page Sizing & Handling, choose Actual size. Fit and Shrink oversized pages scale the page down, which keeps the edges but makes the whole design slightly smaller.
- Preview on a Mac: set Scale to 100% and check the paper size.
- Either way, if your design has color right to the edge, choosing a scale of about 97% gives a clean, even white border instead of an uneven clip.
Fix it when printing from a browser
This applies to our letterhead maker, which prints the page with no margins so the design is placed exactly where it appears in the preview.
- Chrome and Edge: open More settings, check Paper size, keep Scale at Default, and tick Background graphics.
- Safari: tick Print backgrounds and check the paper size.
- Firefox: under More settings, tick Print backgrounds and keep the scale at 100%.
In the maker, choose US Letter or A4 under Paper size to match your printer before you print.
Designs that print well at home
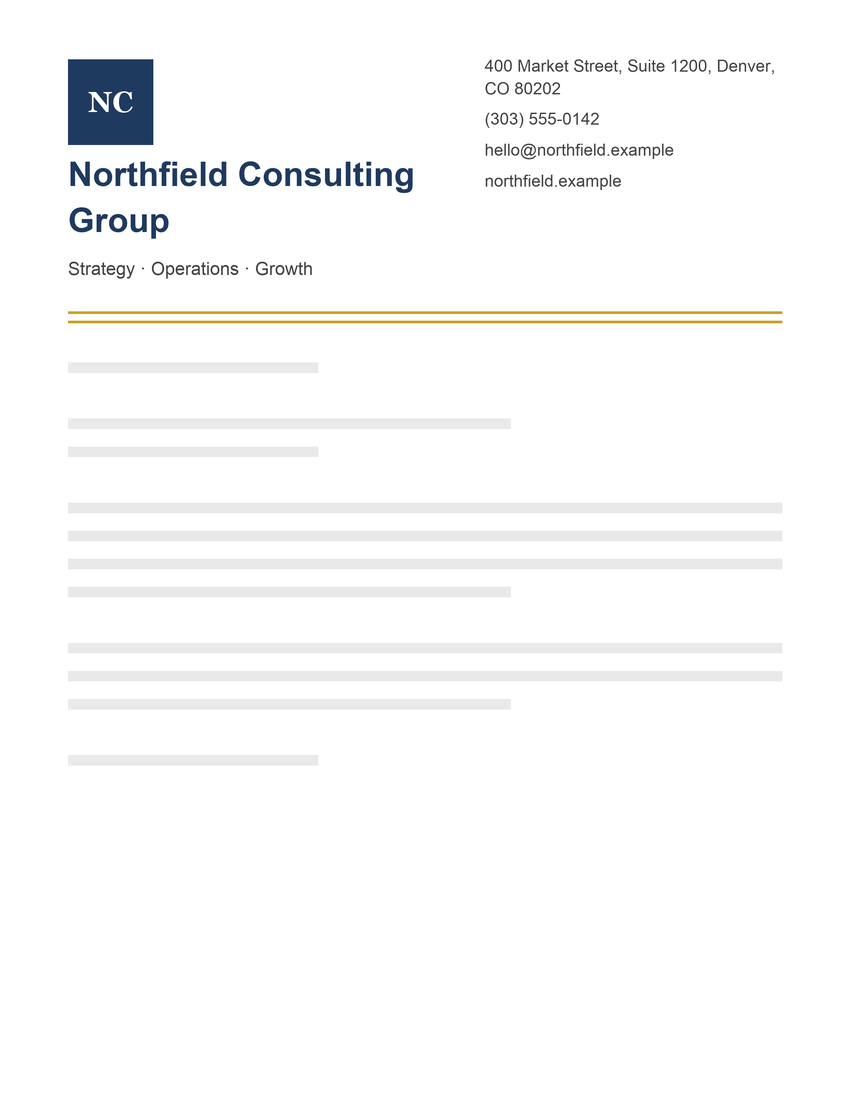
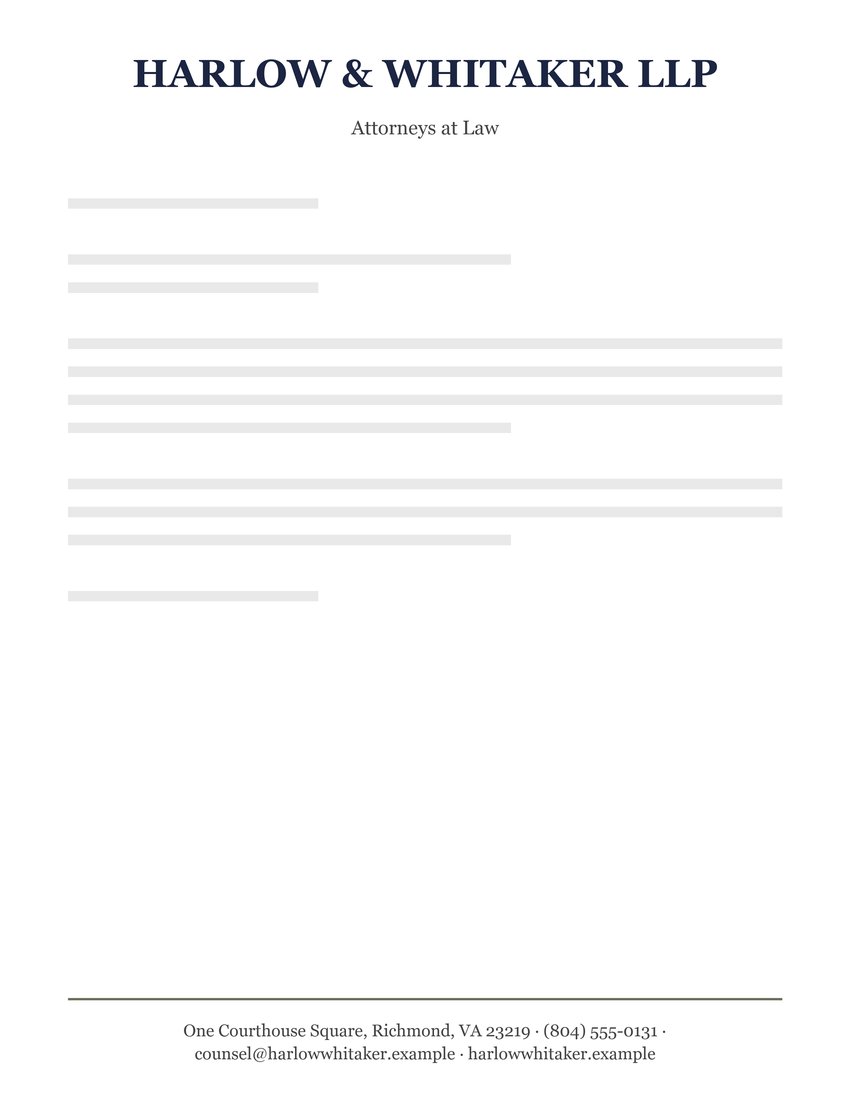
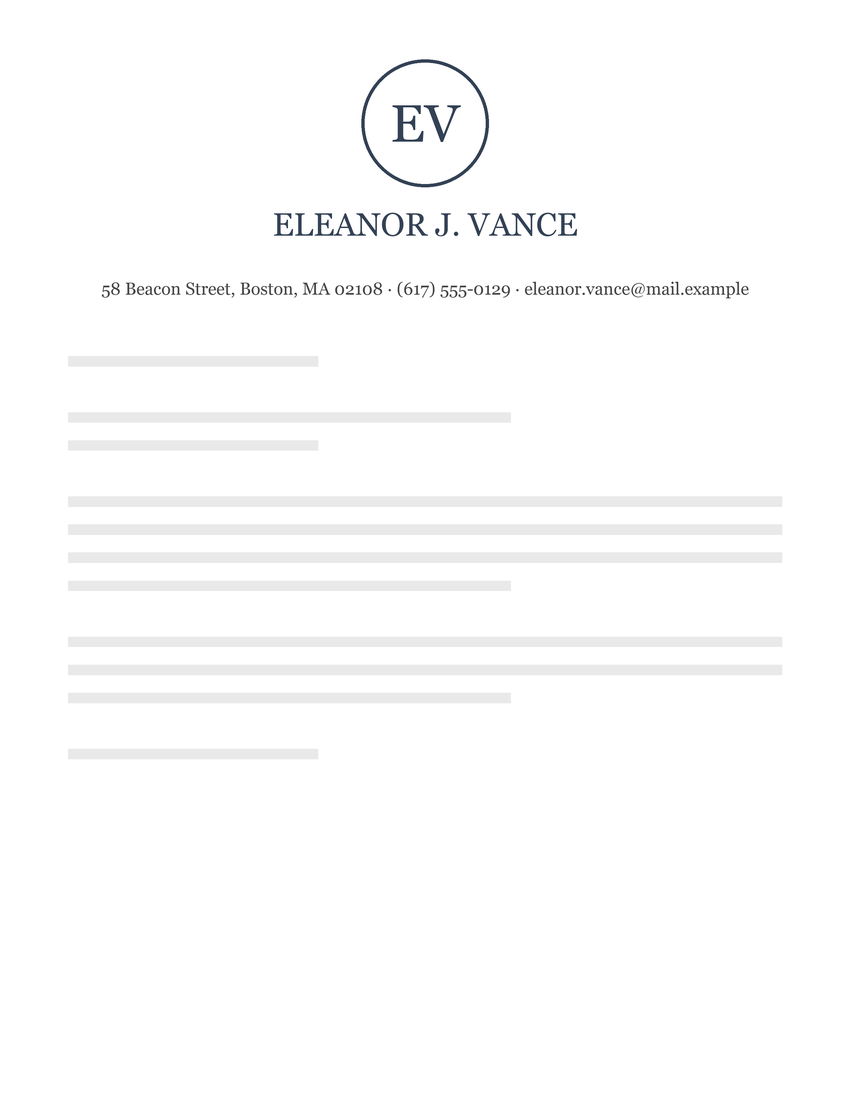
Designs with white space around the edges print exactly as designed on any printer. In our collection, that's the minimal, centered, split header, logo-left and monogram layouts, such as the modern business, professional law firm and personal monogram examples.
Color band, sidebar and footer band designs, such as the construction company, attorney sidebar and logistics company examples, use color that runs to the edge. At home they print with a thin white border. That's normal and still looks tidy, but if you want true edge-to-edge color, use borderless printing or a print shop.
Borderless printing
Some inkjet printers can print to the edge. Look for Borderless in the printer's own settings or paper options; it's often limited to certain paper types. To avoid a white edge, borderless printing enlarges the page slightly, so a little of the design is trimmed off every side. Keep text and logos well inside the edge if you use it. Most laser printers don't offer borderless printing.
Getting edge-to-edge color from a print shop
Print shops get color to the edge by printing on larger paper and trimming it down. For that, the file needs bleed: extend any color that touches an edge 0.125 in (3 mm) past it, and keep text at least 0.25 in (6 mm) inside the trim line. Our letterhead printing guide explains print-ready files, paper and ordering.
Checklist before you print a stack
- Paper size matches in the document and the print dialog
- Scale is 100% or Actual size
- Logo, name and contact details are at least 0.25 in (6 mm) from every edge
- Background graphics are on if you're printing from a browser
- One test sheet printed and checked, on the same paper you'll use for the stack